Maybe you’re like me and are struggling to eat enough having recently switched to a plant-based diet. Or maybe you’re trying to eat meals on the cheap. If that is you, then keep reading! My super easy beans and rice recipe will have you feeling full and satisfied in no time (Not to mention your wallet will be happy too!) Don’t worry if you do not have an instant pot. I give instructions for the stovetop as well so let’s begin!
Why sprout my beans?
I sprout my beans because they contain phytates which prevent our bodies from breaking down nutrients. Because of this, many people feel sick when they eat unsprouted beans. Not only that, but sprouting will increase the amount of vitamin c and fiber content and who doesn’t want more of that? It is also cheaper to buy beans dry and in bulk and for that, we get all our whole grains and legumes through Azure Standard. We have found them to be the best bang for our buck! Of course, you can also find bagged beans and rice in any grocery store. Finally, let me show you HOW to sprout your beans!
Items you will need
Since we eat beans every day, I feel I can do the following steps blindfolded! Don’t be intimidated by the steps; you’ll get the hang of it. When you are planning serving sizes, remember that 1 cup of dry beans will yield roughly 3 cups of cooked beans. Here’s a list of what you’ll need for your sprouting!
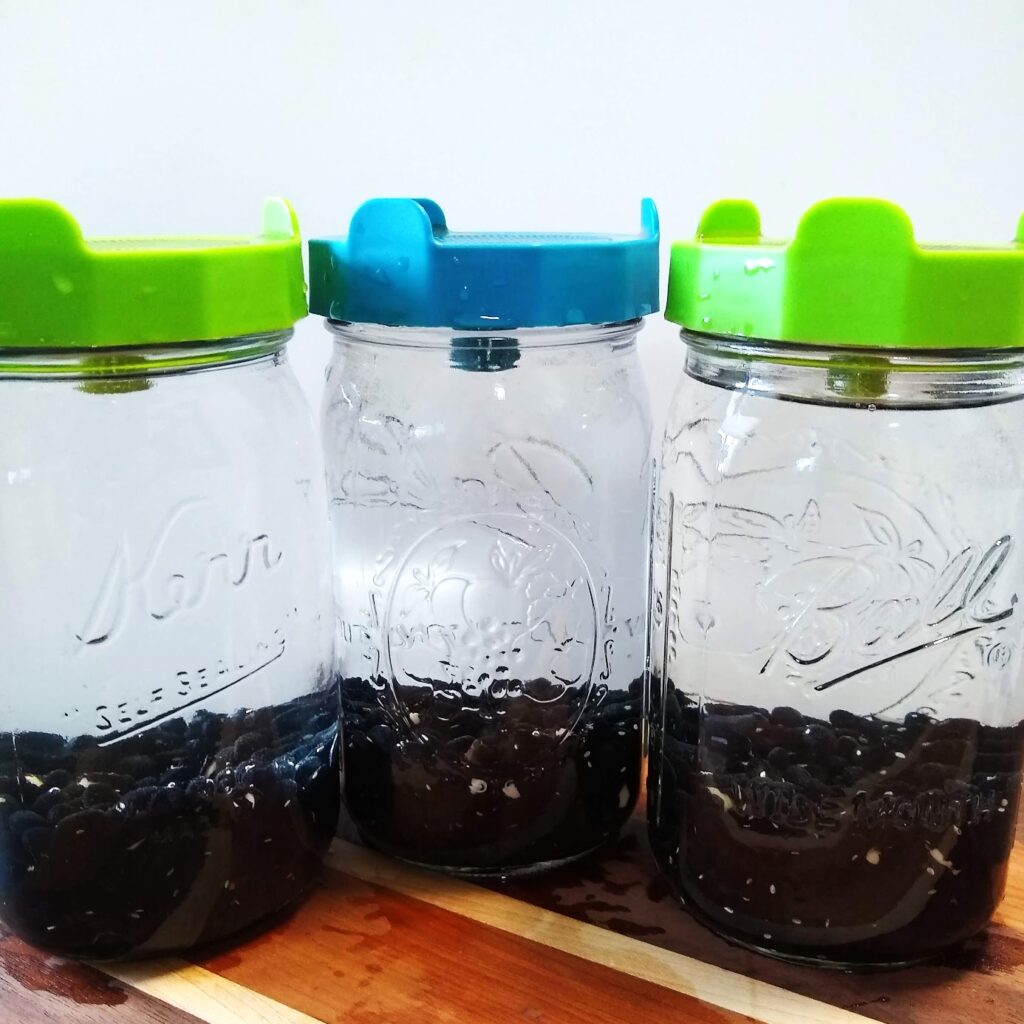
- 3 one quart canning jars
- 3 sprouting lids (You could also use cheese cloth. You need to let the beans be exposed to air)
- A 3/4 cup meausuring cup
- Water
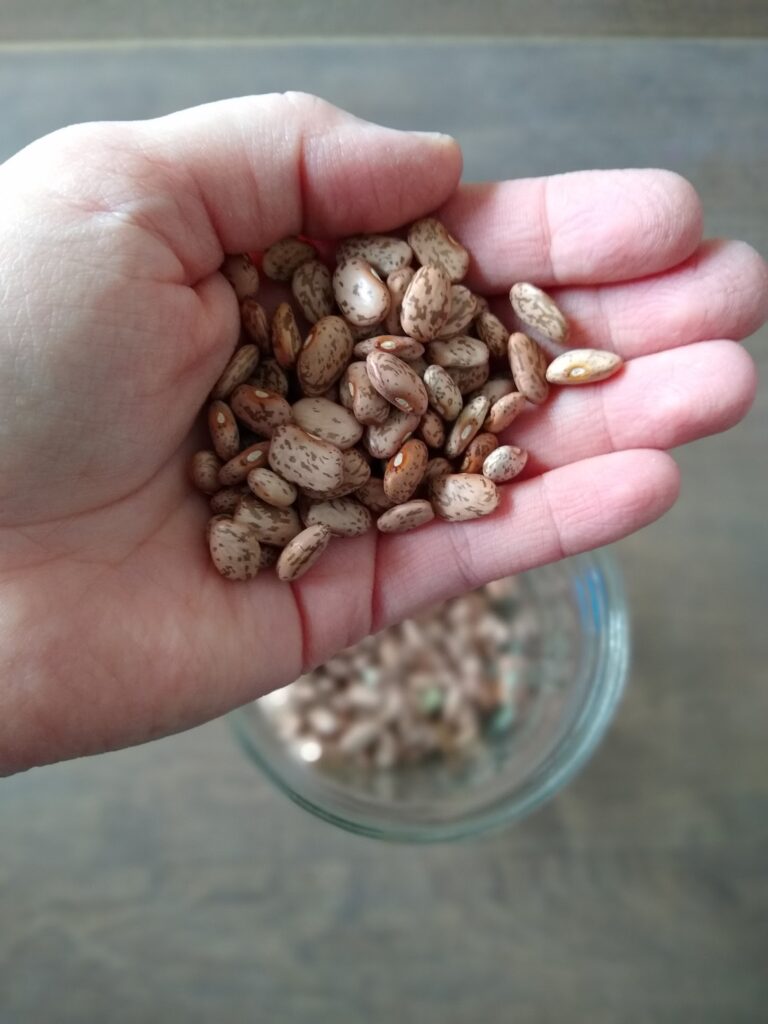
- Organic, Non-GMO, Non-Irradiated Black Beans
Instructions for sprouting
- Make sure your jars and measuring cup are sterilized. Most reasons people have become sick from eating sprouted foods is because it wasn’t a sterile environment and mold and bacteria grew so no need to get crazy, but make sure you wash the jars and dry them well.
- Scoop 3/4 cup of beans into each jar and place on the sprouting lid or cheese cloth.
- Cover the beans with cold water and let soak overnight (8-12hrs).
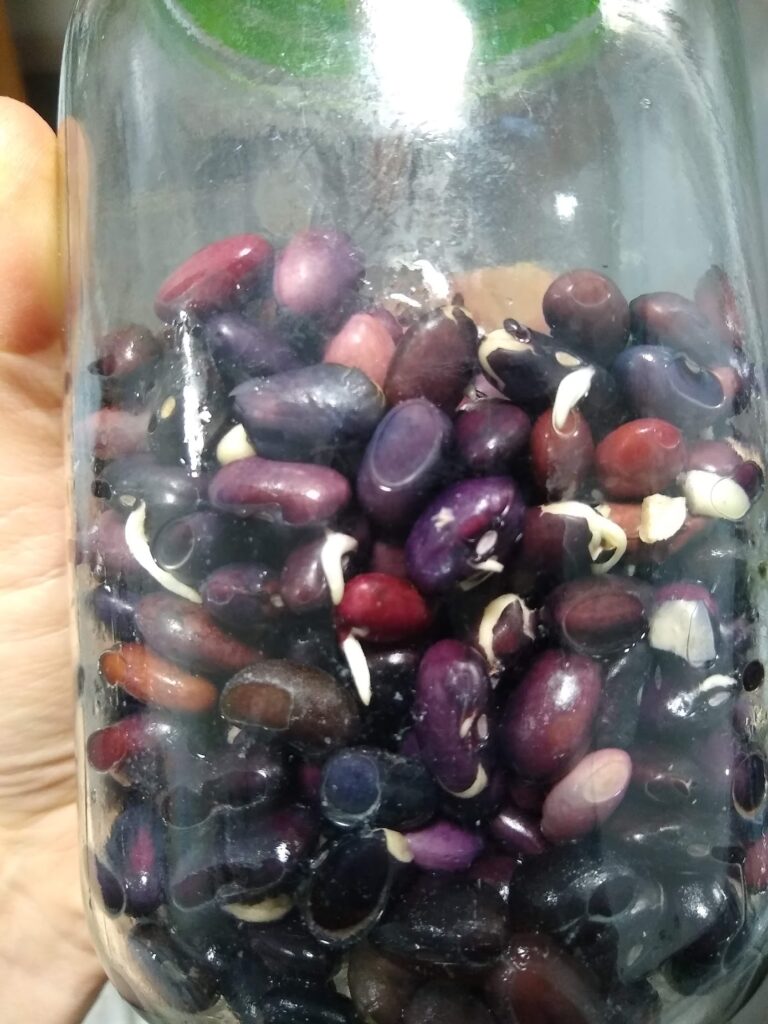
- Drain the beans completely and keep them out of direct sunlight.
- Rinse the beans once a day for the next 2-3 days or until you see sprouts. I normally don’t wait for all of the beans to have sprouted, just a few such as pictured above.
Let’s get cooking our beans and rice!
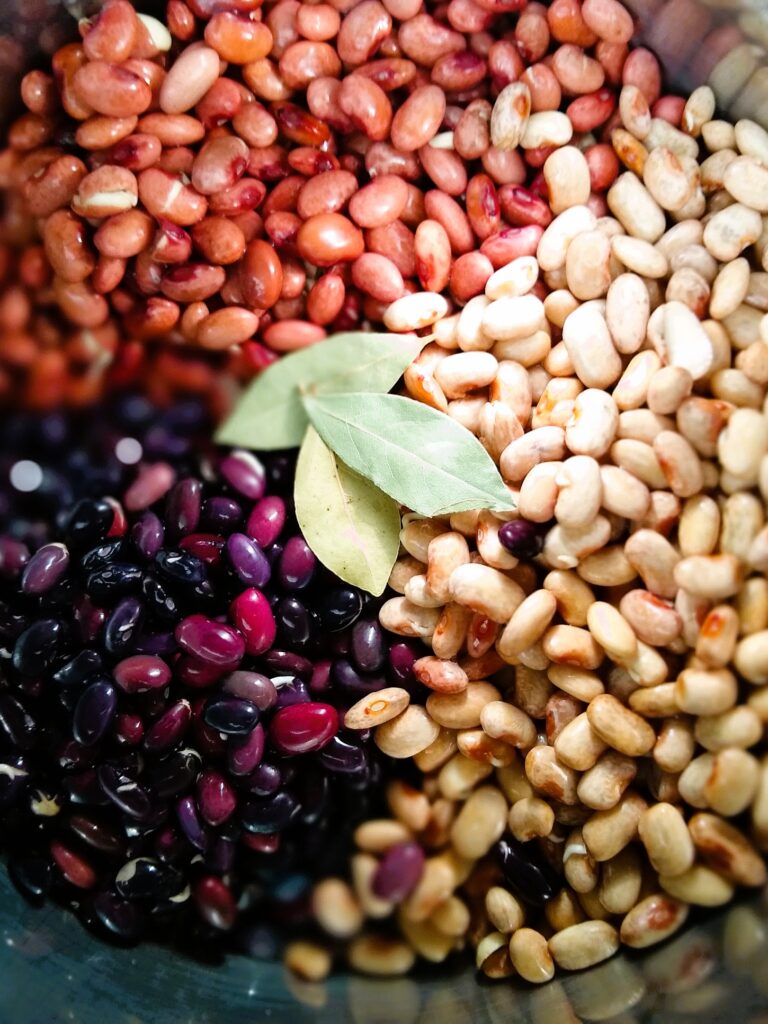
You can cook your beans on the stovetop or in the Instant Pot. Stovetop: Rinse your beans and then add them to a large pot of cold water and bring to a boil. Once boiling, remove from heat and strain. Refill the pot and beans with cold water along with 3 bay leaves. Bring to a boil. Reduce heat, cover, and simmer for 1hr and 30min or until the beans are tender to your liking. Strain and season. It takes some time but your gut will thank you! Instant Pot: Add your rinsed beans, 2 quarts of water, and bay leaves. Select the Pressure Cook setting and set the timer for 35 minutes. Manually release the pressure immediately after cooking. Next, let’s cook the brown rice!
How to Cook Brown Rice
I am always and forever cooking brown rice! We eat it for breakfast in our tofu scramble, beans, and rice for lunch, and at supper, it is needed for a Buddha Bowl, stir fry, or perhaps a soup! Just like beans, you can make it on the stovetop or Instant Pot. I like the stovetop method for more fluffy rice such as for a side with curry or in a salad. Both options take the same amount of time.
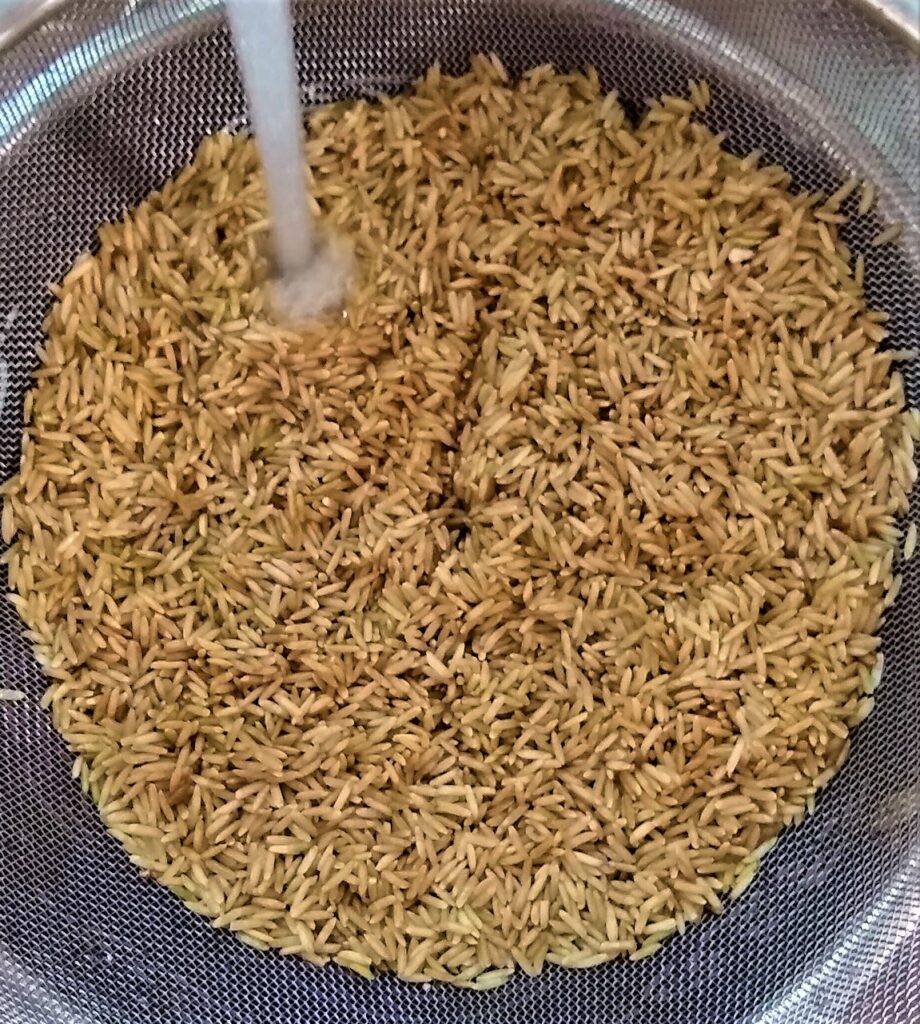
- Rinse the rice in cold water. This will help to break down the starches and you won’t have “gummy” rice.
- Stovetop: Bring a large pot of water to boiling. Add the rinsed rice. Return to a boil.
- Reduce heat to simmer and cook uncovered for 22 minutes.
- Remove from heat. Strain rice and return to pot. Cover and let it rest for 10 minutes.
- Instant Pot: Rinse the rice in cold water then add to your Instant Pot. The ratio is 1 cup of rice. 1 cup of water. 10 minutes of cook time. I use the pressure cook option on my instant pot or you could use the whole grain option if your model has it. For softer rice, allow 10 minutes before you release the valve. If you want more crunchy rice, manually release it immediately after cooking.
Condiments for beans and rice
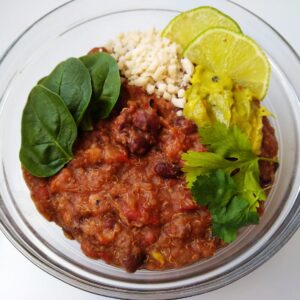
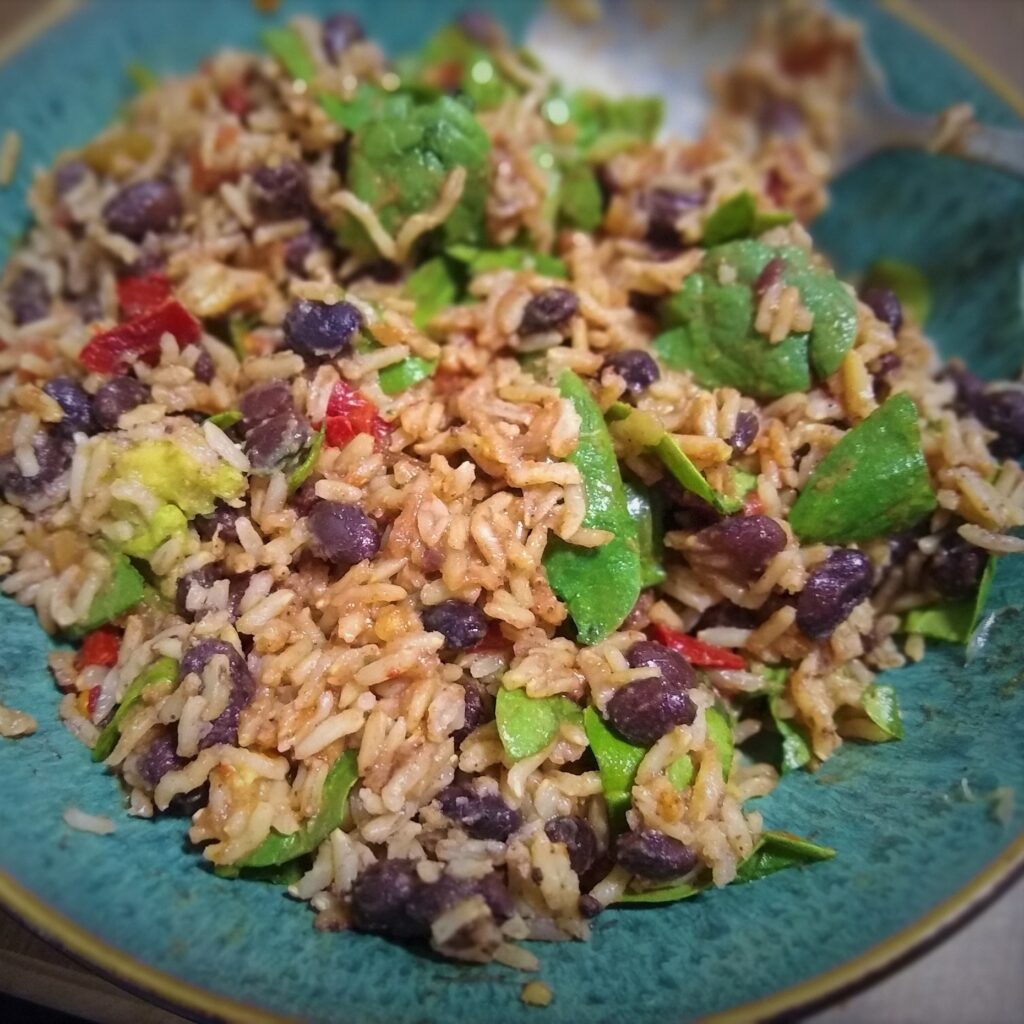
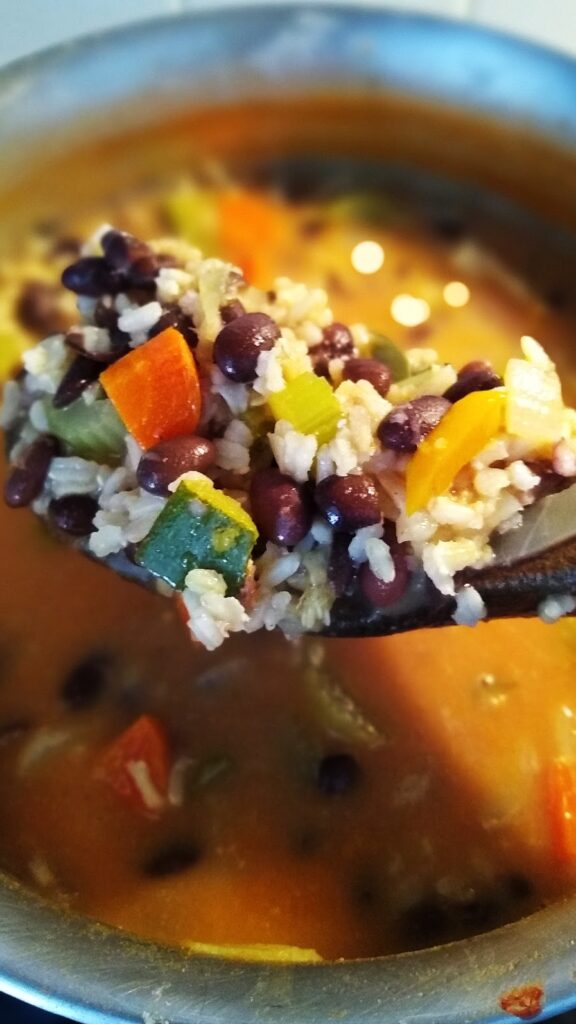
Lastly, beans and rice are amazing by themselves! For example, simply salt, pepper, and garlic powder are delicious condiments! In addition, I use them in soups, salads, stir-fries, the possibilities are endless! My favorites though are guacamole, salsa, fresh cilantro, lime slices, spinach, fresh jalapeno peppers, fresh diced onions, fresh pressed garlic, and chipotle sauce! Ok, now I’m hungry haha! Get creative and try new things! My girls today put ketchup and cashew alfredo sauce on theirs and loved it!
Conclusion
To summarize, beans and rice are cheap and easy to make! It takes a little more time but it is worth it for your body to be able to absorb all the nutrients you’re giving it! Whether using the Instant Pot or stovetop method, I want to hear from you! Please let us know in the comments which method you used or prefer and tell us what condiments you added to your beans and rice. I can’t wait to hear! I’ll see you in the kitchen!
*As an Amazon Associate I earn on qualifying purchases. Thank you for your support!